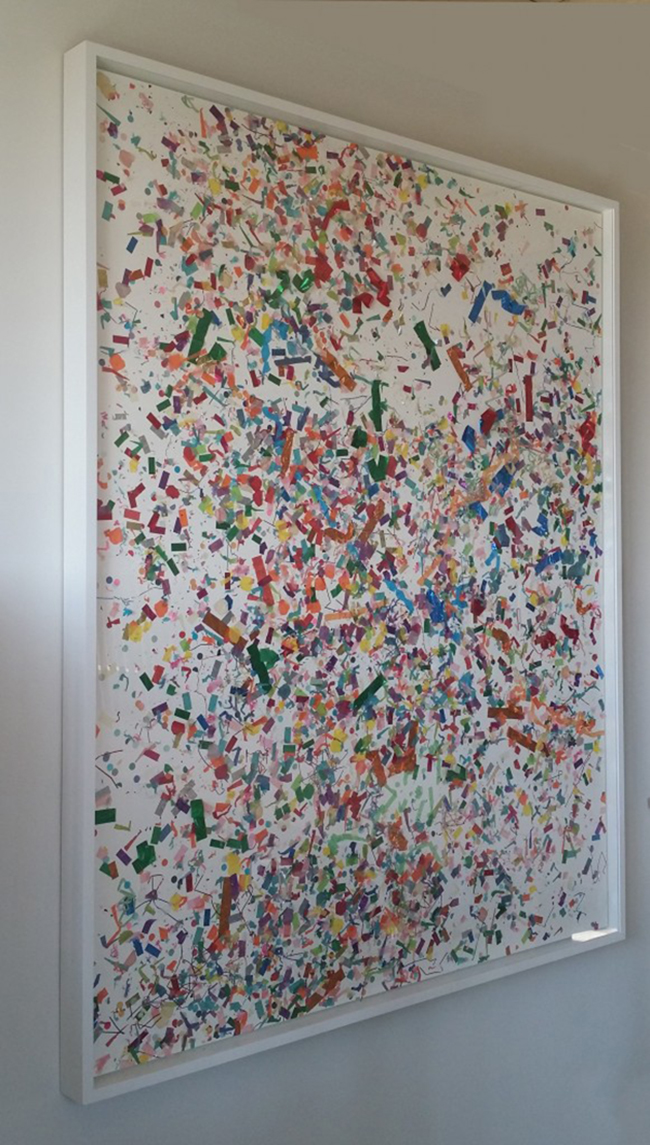
In order to be able to order exhibition frames for your exhibitions it is necessary to understand the terminology of the picture framing industry. The following will get you started on basic concepts.
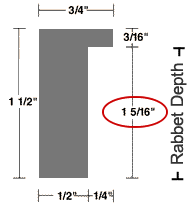
RABBET DEPTH
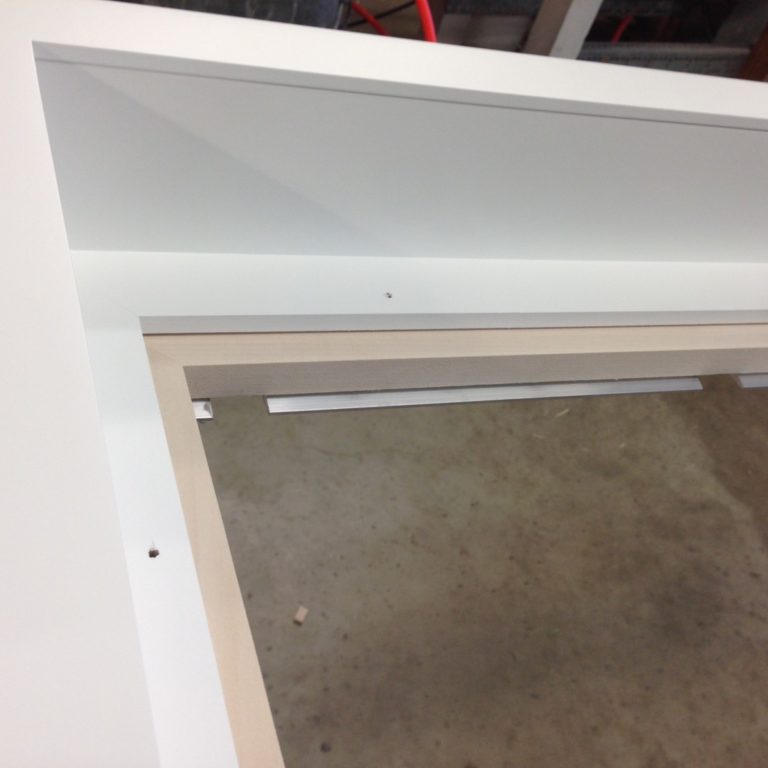
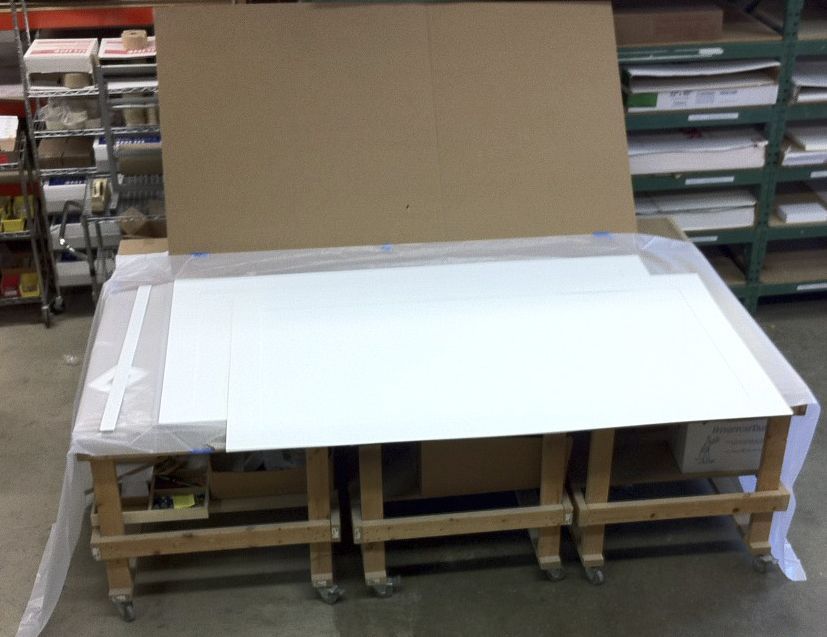
Besides aesthetic considerations it is necessary to determine the depth of your artwork package to ensure that it is deep enough to accommodate all of the components in the artwork package.
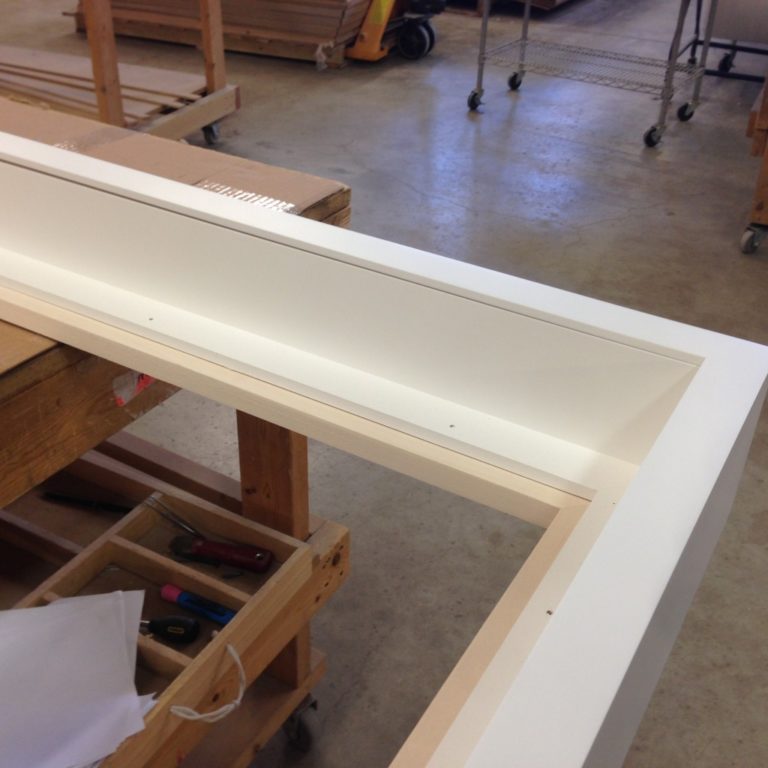
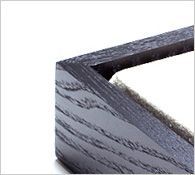
The rabbet depth is the amount of space in the frame to accommodate the artwork package. All Metropolitan frames have the rabbet depth dimension illustrated in the product section. Use the frame depth calculator to determine the exact depth of the frame you will need and then view our product page to see which frames will accommodate your artwork package.

SPACERS
A spacer is used to separate artwork on paper or photographs from glass or acrylic when a mat isn’t being used. Spacers are also used on artwork that is dimensional or doesn’t lie flat Spacers can be made of wood, plastic, or mat board. Metropolitan has designed a line of exhibition frames that will accommodate our custom wood spacers that can be purchased in depths ranging from 1/4″ – 2″.
See framing advice.
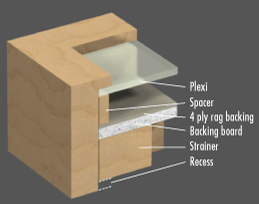
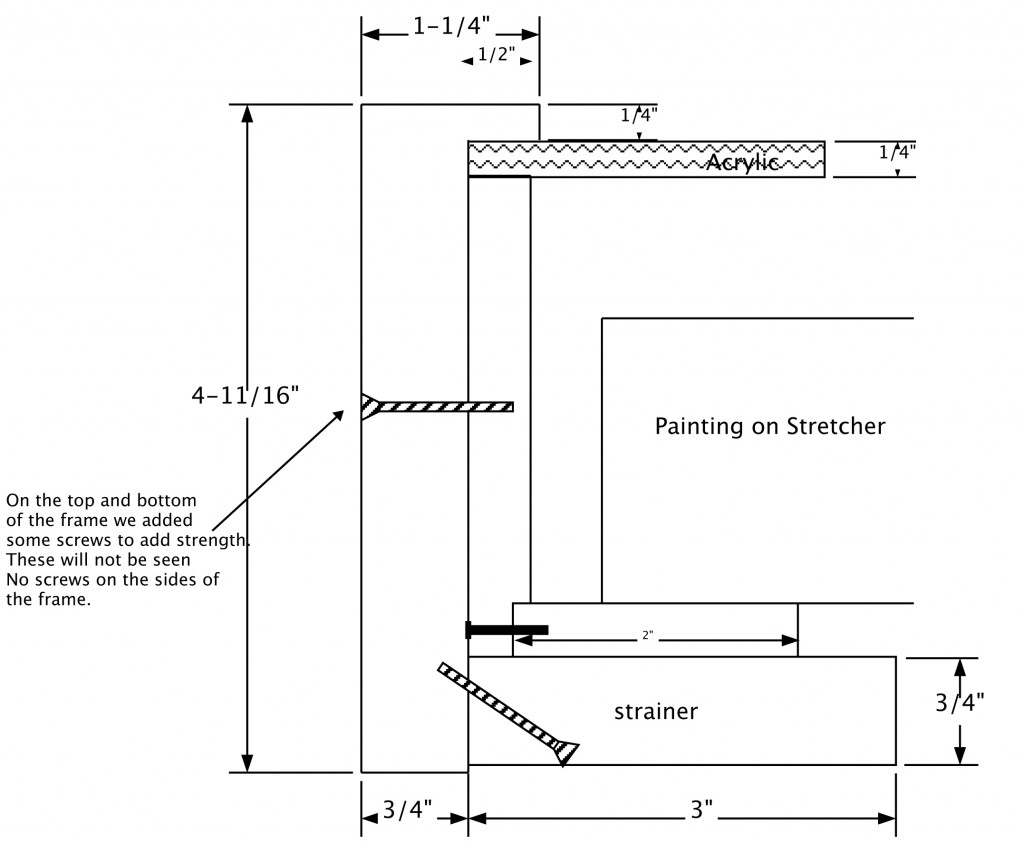
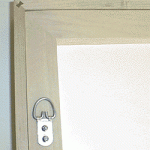
STRAINERS
Strainers are an inner frame that is placed behind the artwork package and secured with screws. They add extra strength to the artwork package and hold the artwork package in the frame. They also serve as a means of attaching the hanging devices. This is critical on very thin frame profiles. See framing advice.
STANDARD ALLOWANCE
When ordering frames it is necessary to measure the item you are framing, and give us that exact measurement. We will add our standard allowance of 1/8″. This will allow 1/16″ on each side to allow your art package to fit easily within the frame and compensate for any small out of square problems.
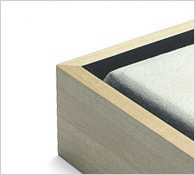
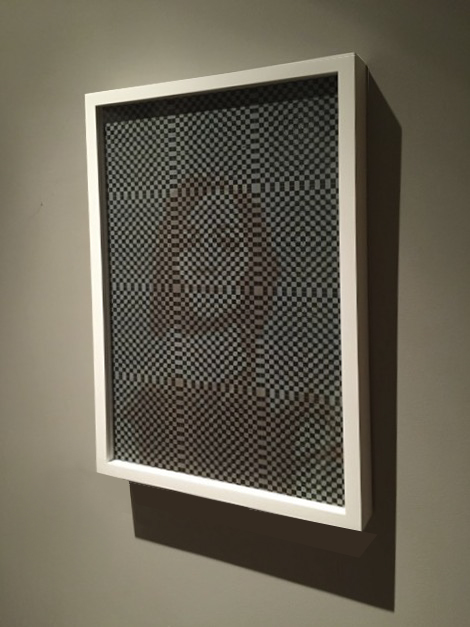
FLOAT SIZE ON FLOATER FRAMES

The float size is the the gap between the sides of the canvas and the inside edge of the frame.
Floater frames have become a popular modern way to frame canvasses. The float space is determined by how much you may want to see the sides of the canvas.
Reasons for small float space: staples showing on side of canvas, sides of canvas left blank, sides of canvas sloppily painted
Reasons for large float space: canvas out of square or the image wraps around onto sides. To determine if the canvas is out of square measure diagonally from the top left to the bottom right and diagonally from the top right to the bottom left. If it is perfectly square those two measurement will be the same. Depending how different they are you will need to increase the size of the float.
PURCHASING OPTIONS
STANDARD JOINING
Frames are cut to your specifications, glued, and joined with our wedge system from behind so there are no visible nail holes. All frames are then touched up and sanded before they are finished to ensure the highest level of quality.
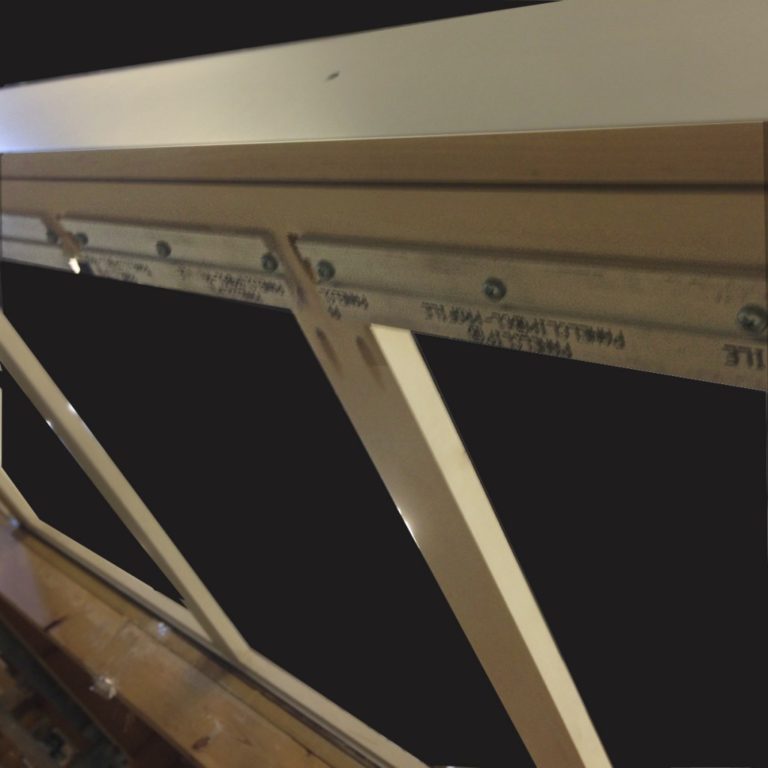
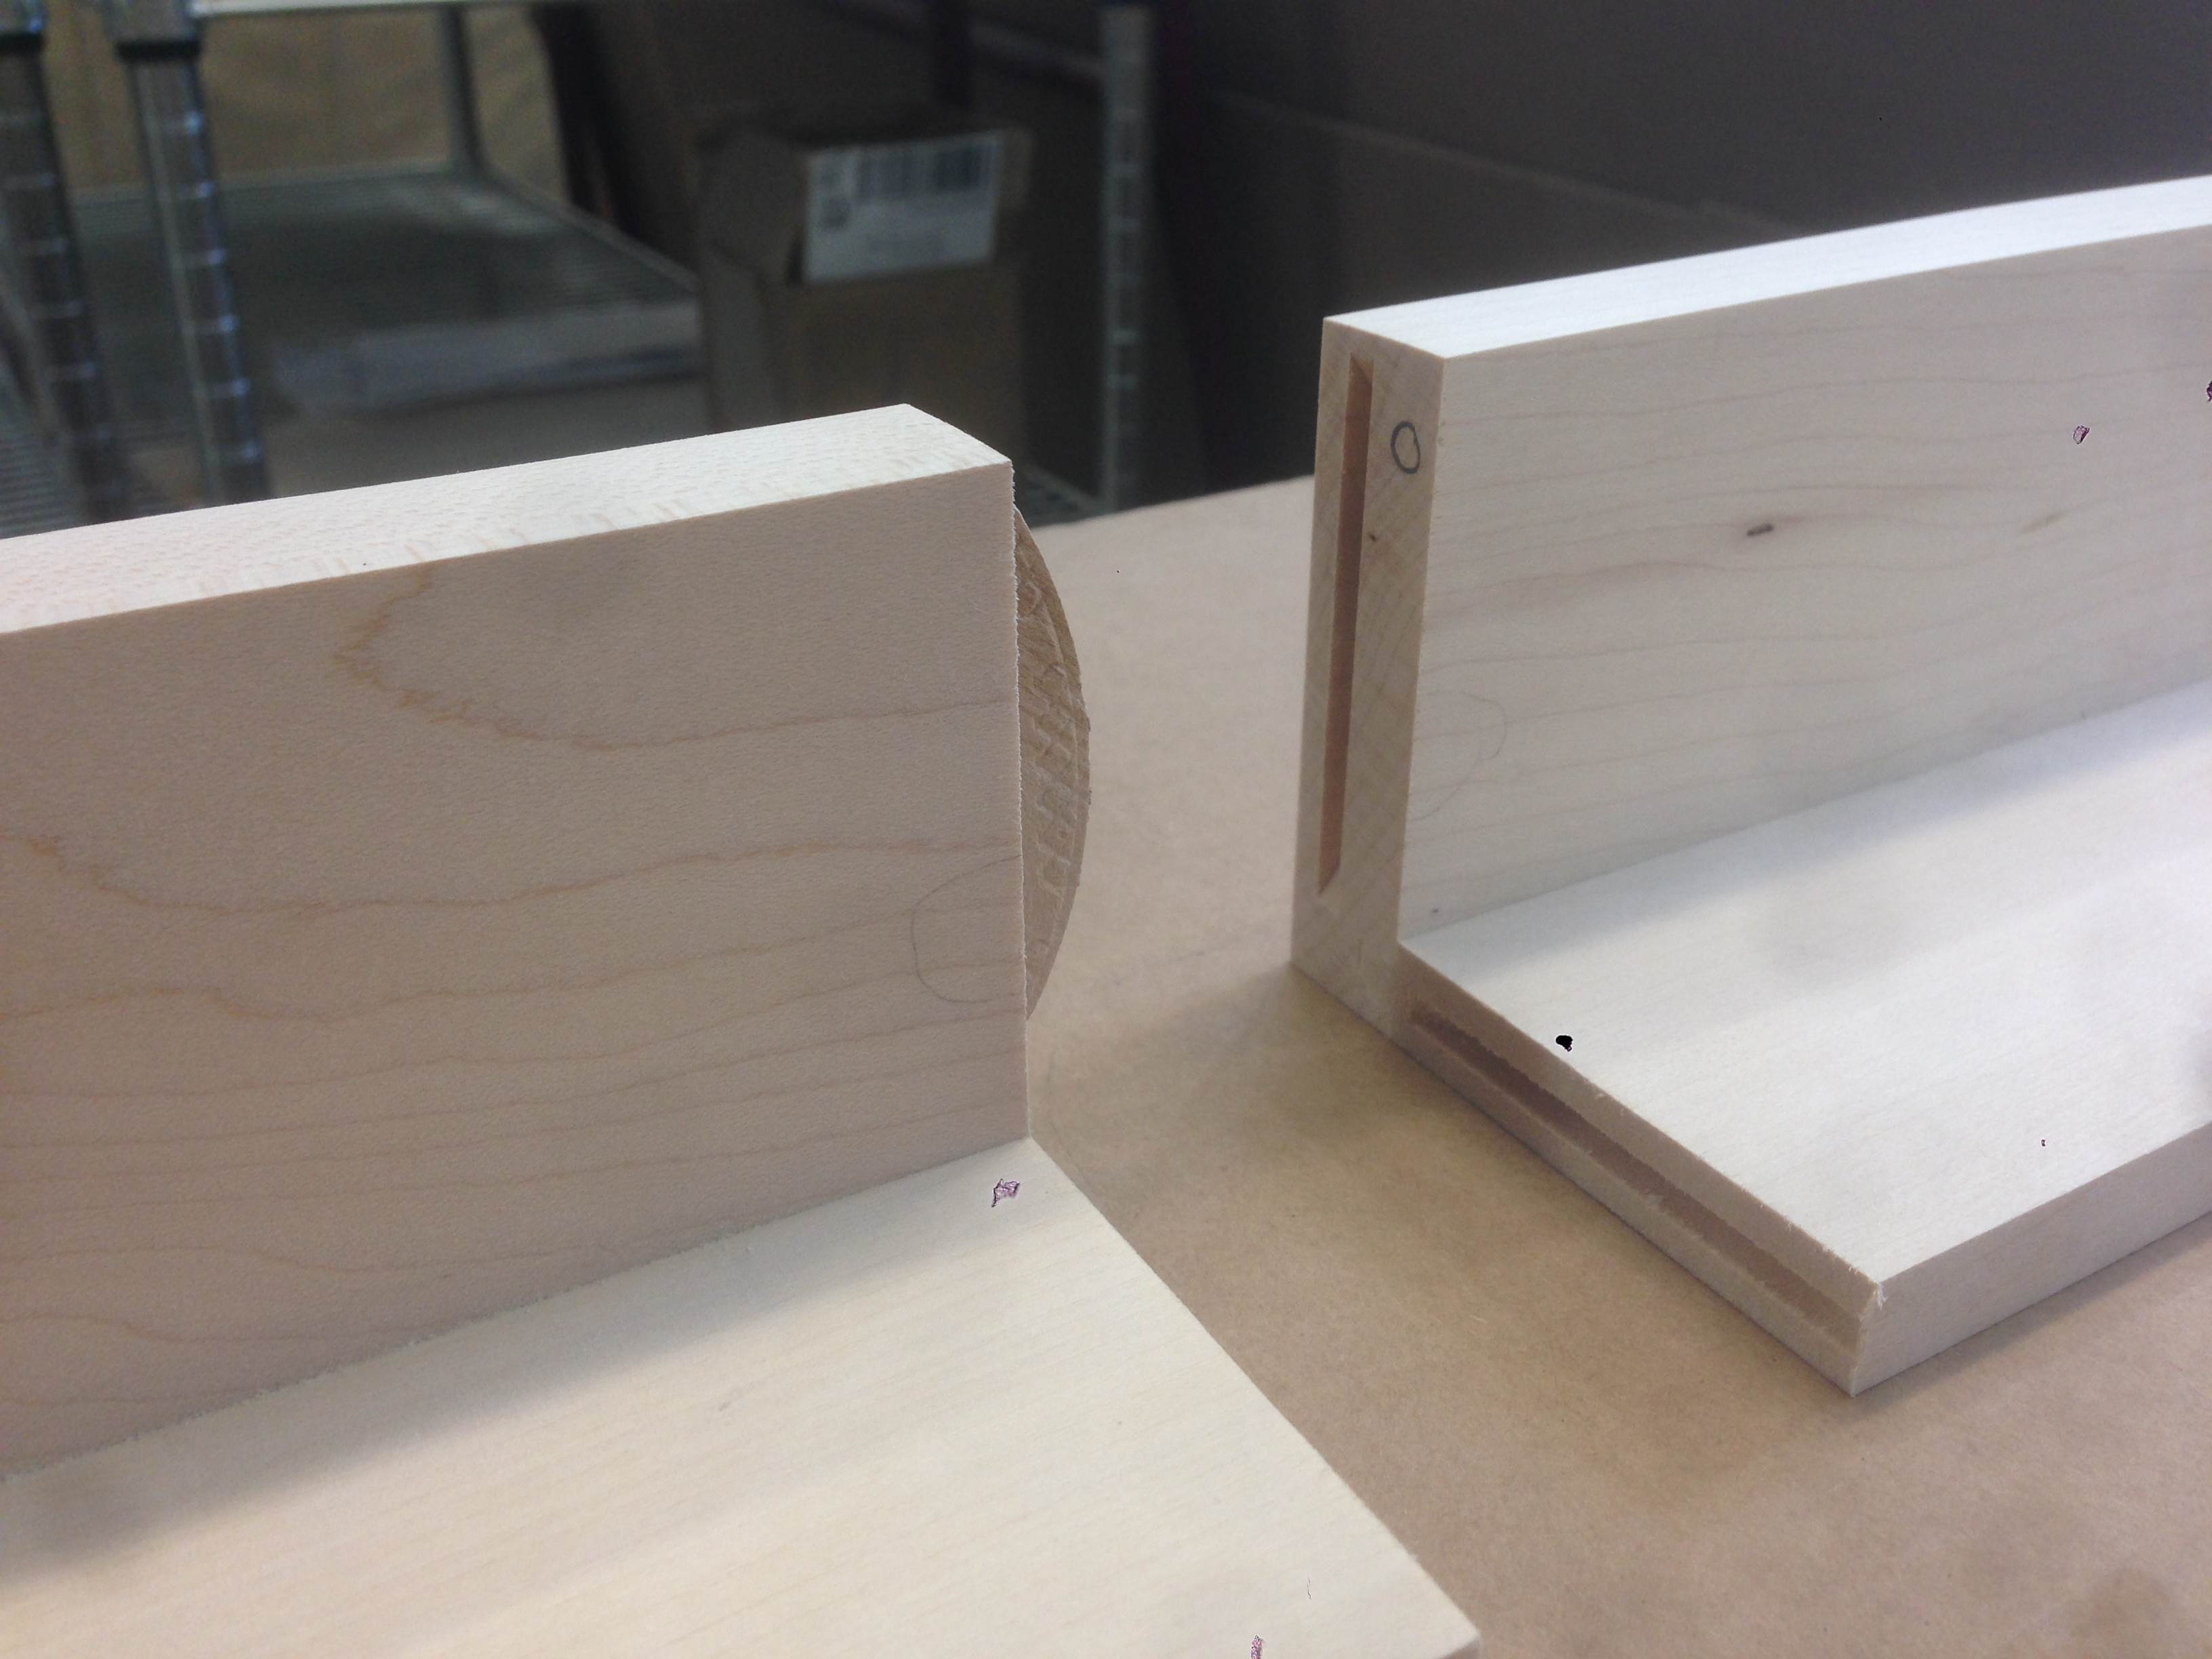
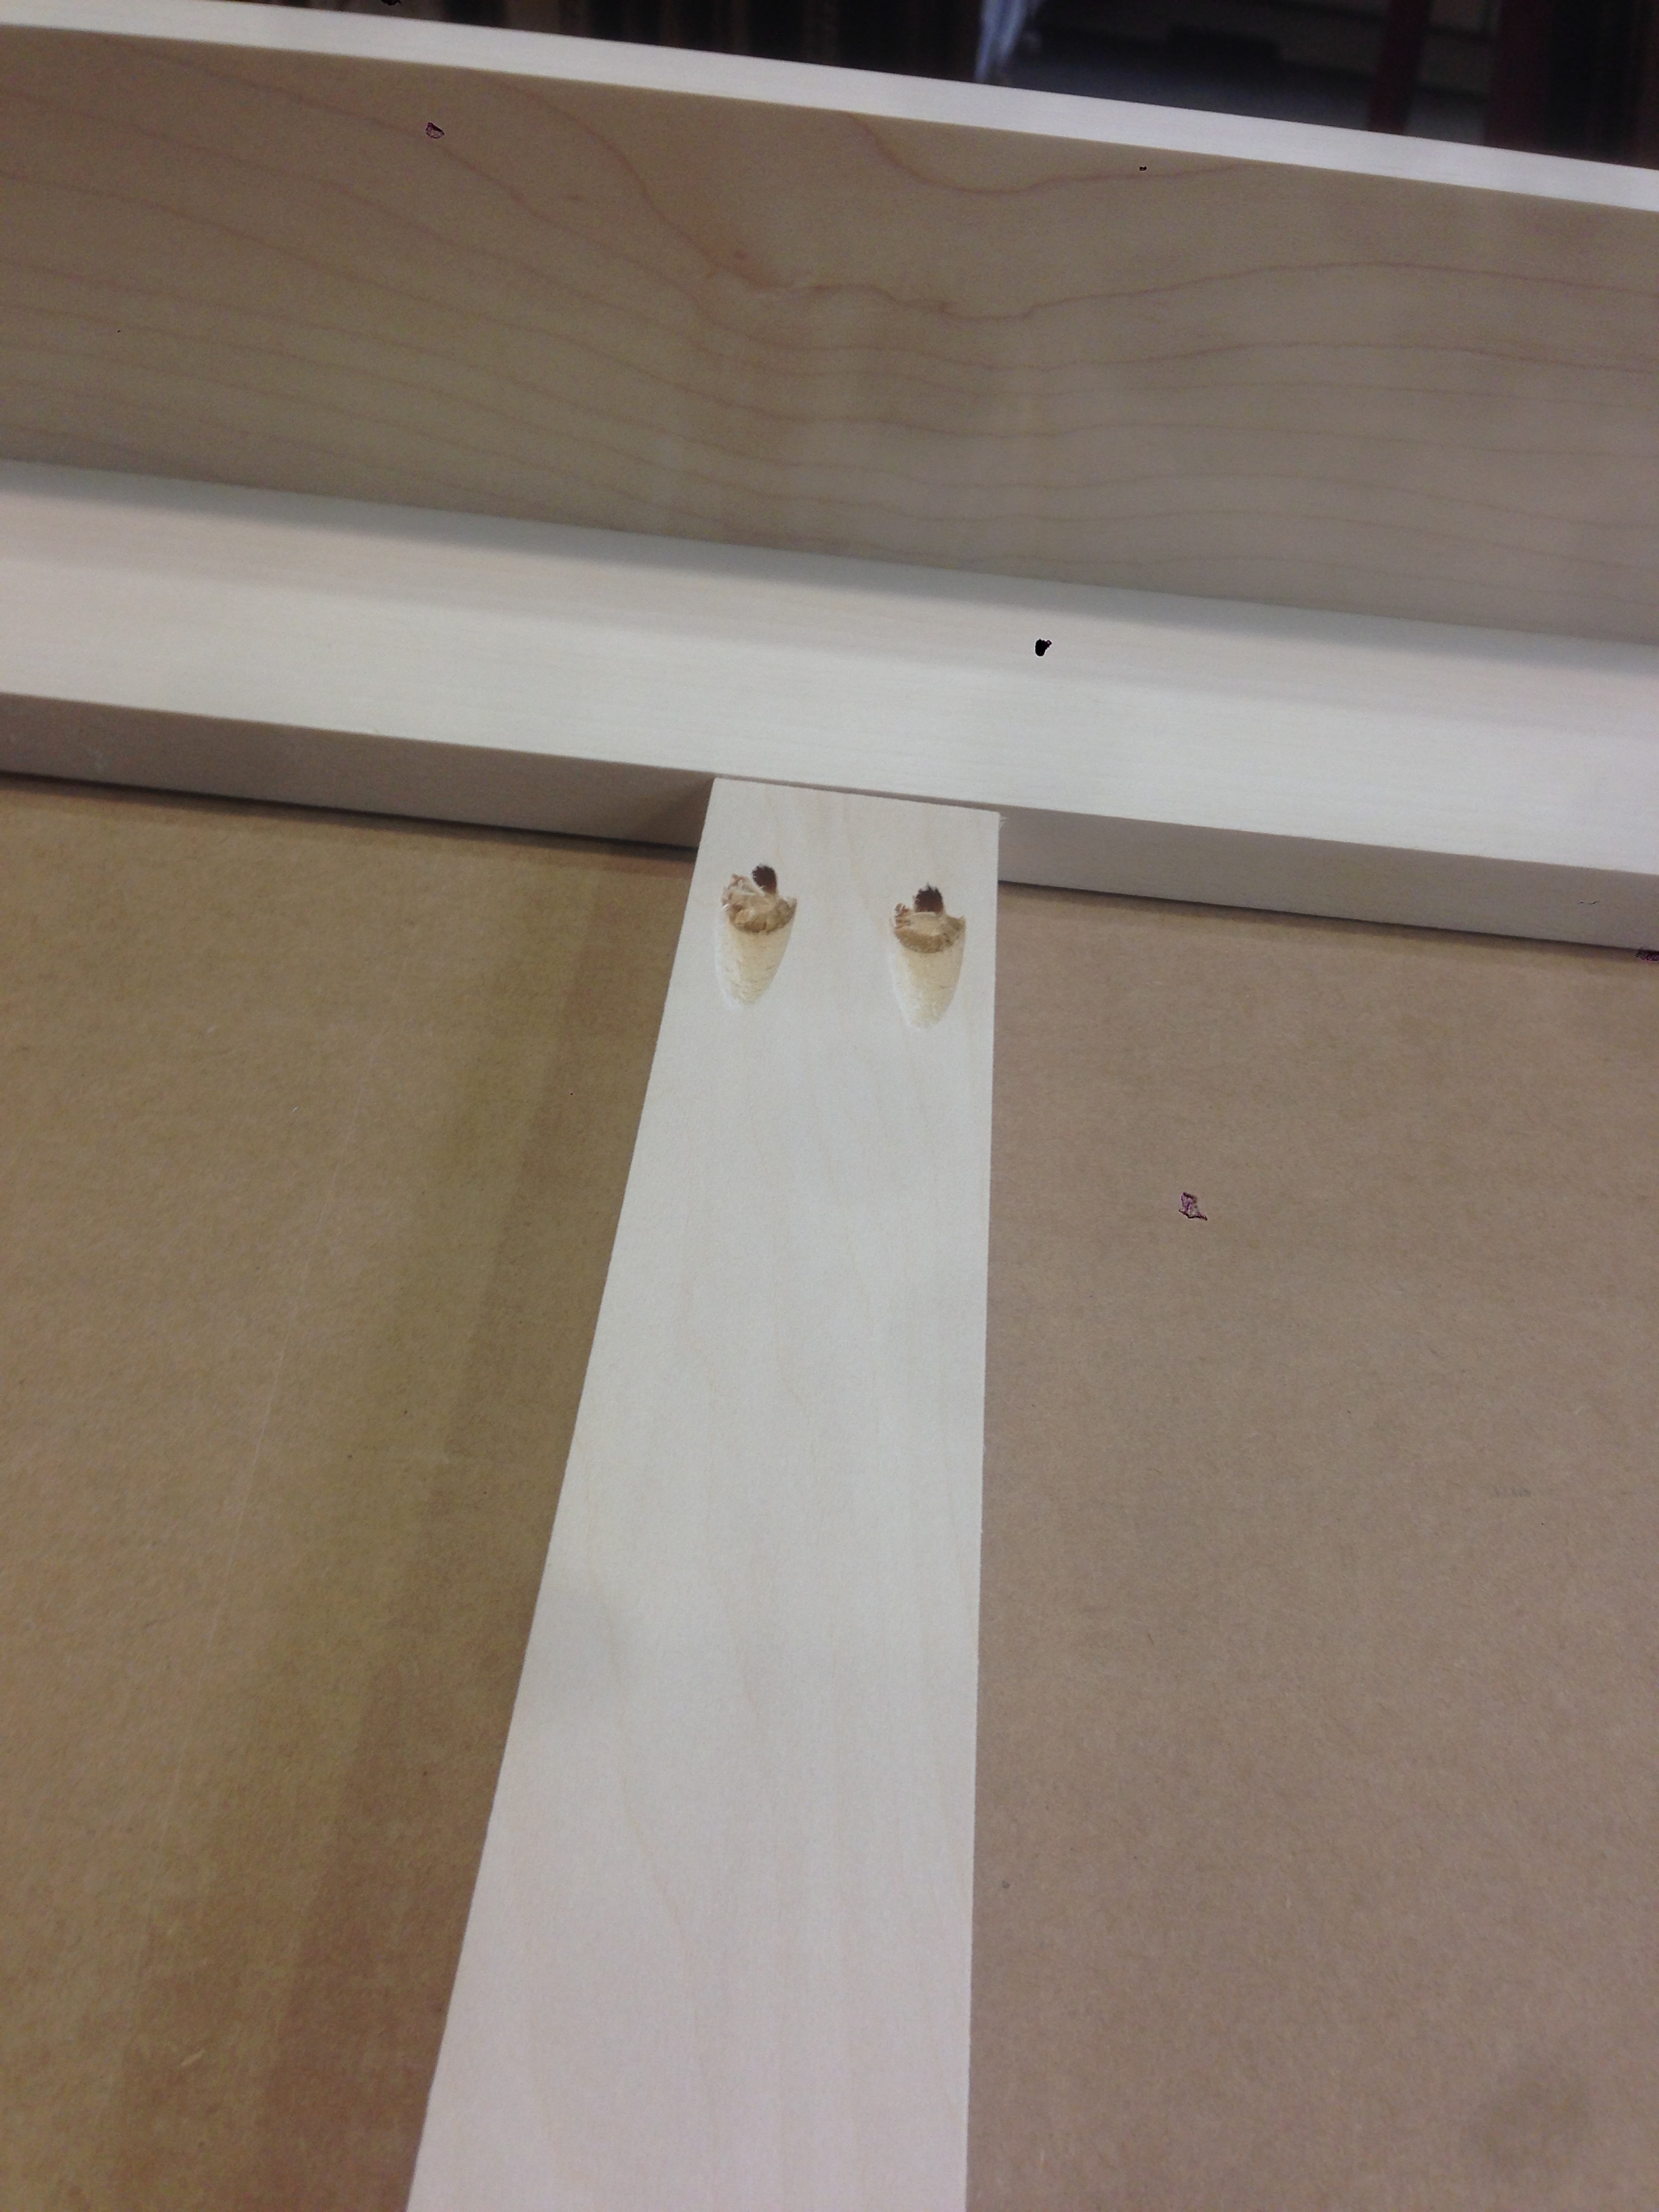
SPLINE JOINING
Spline joints are used for additional strength and beauty. Because the spline joint offers a larger glue area, the joint becomes very strong. They are necessary on very large and or very thin frames.
Matching splines use the same wood as the frame and are less conspicuous than the contrasting splines.
Spline joints are often used with painted white, black and graphite frames to add stability to their seamless corners. With the painted finishes they will not be visible.


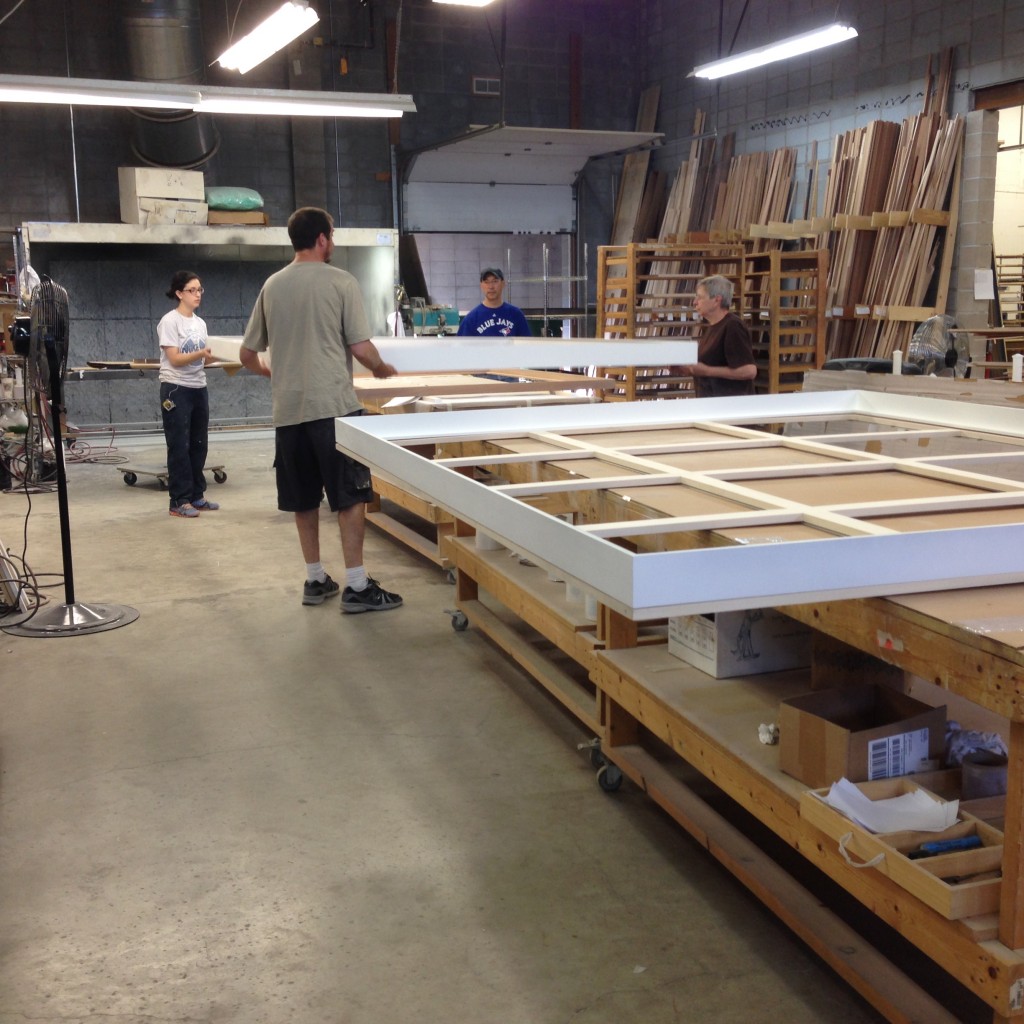
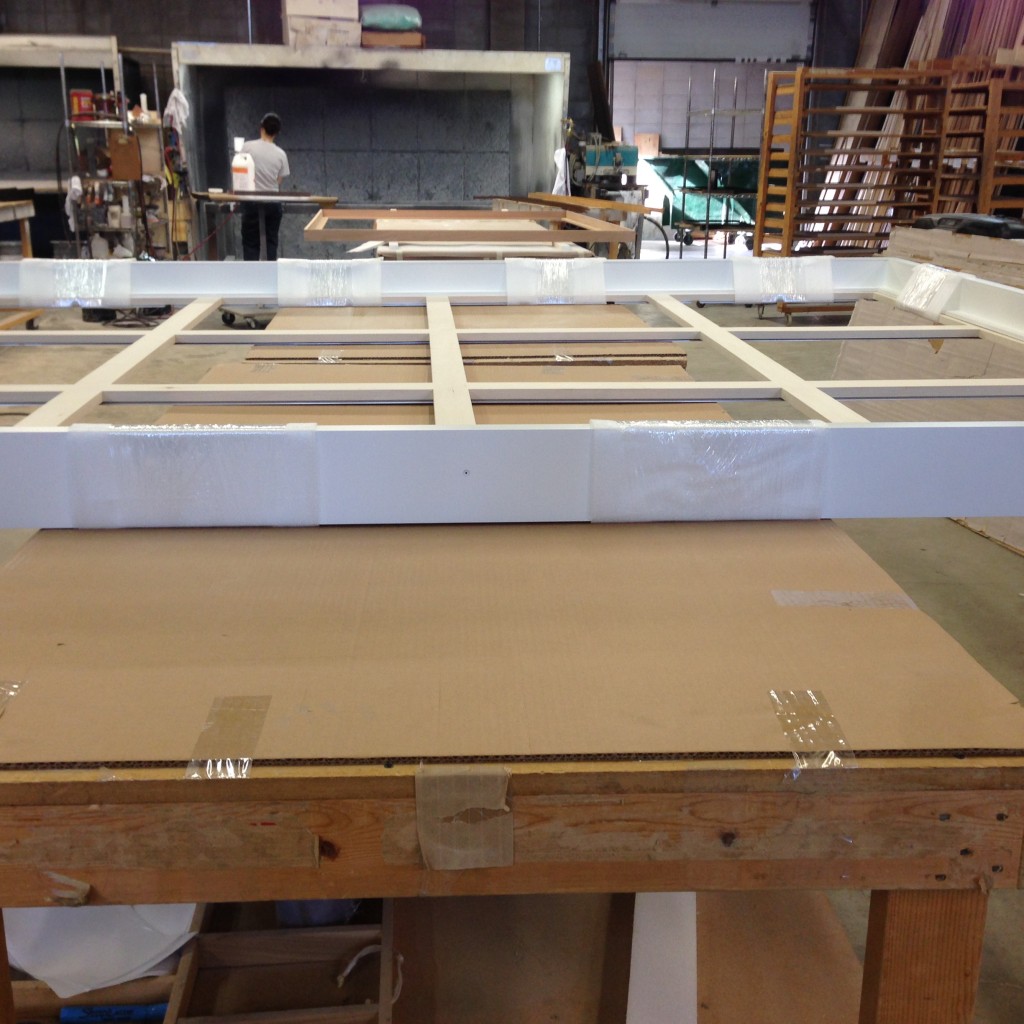
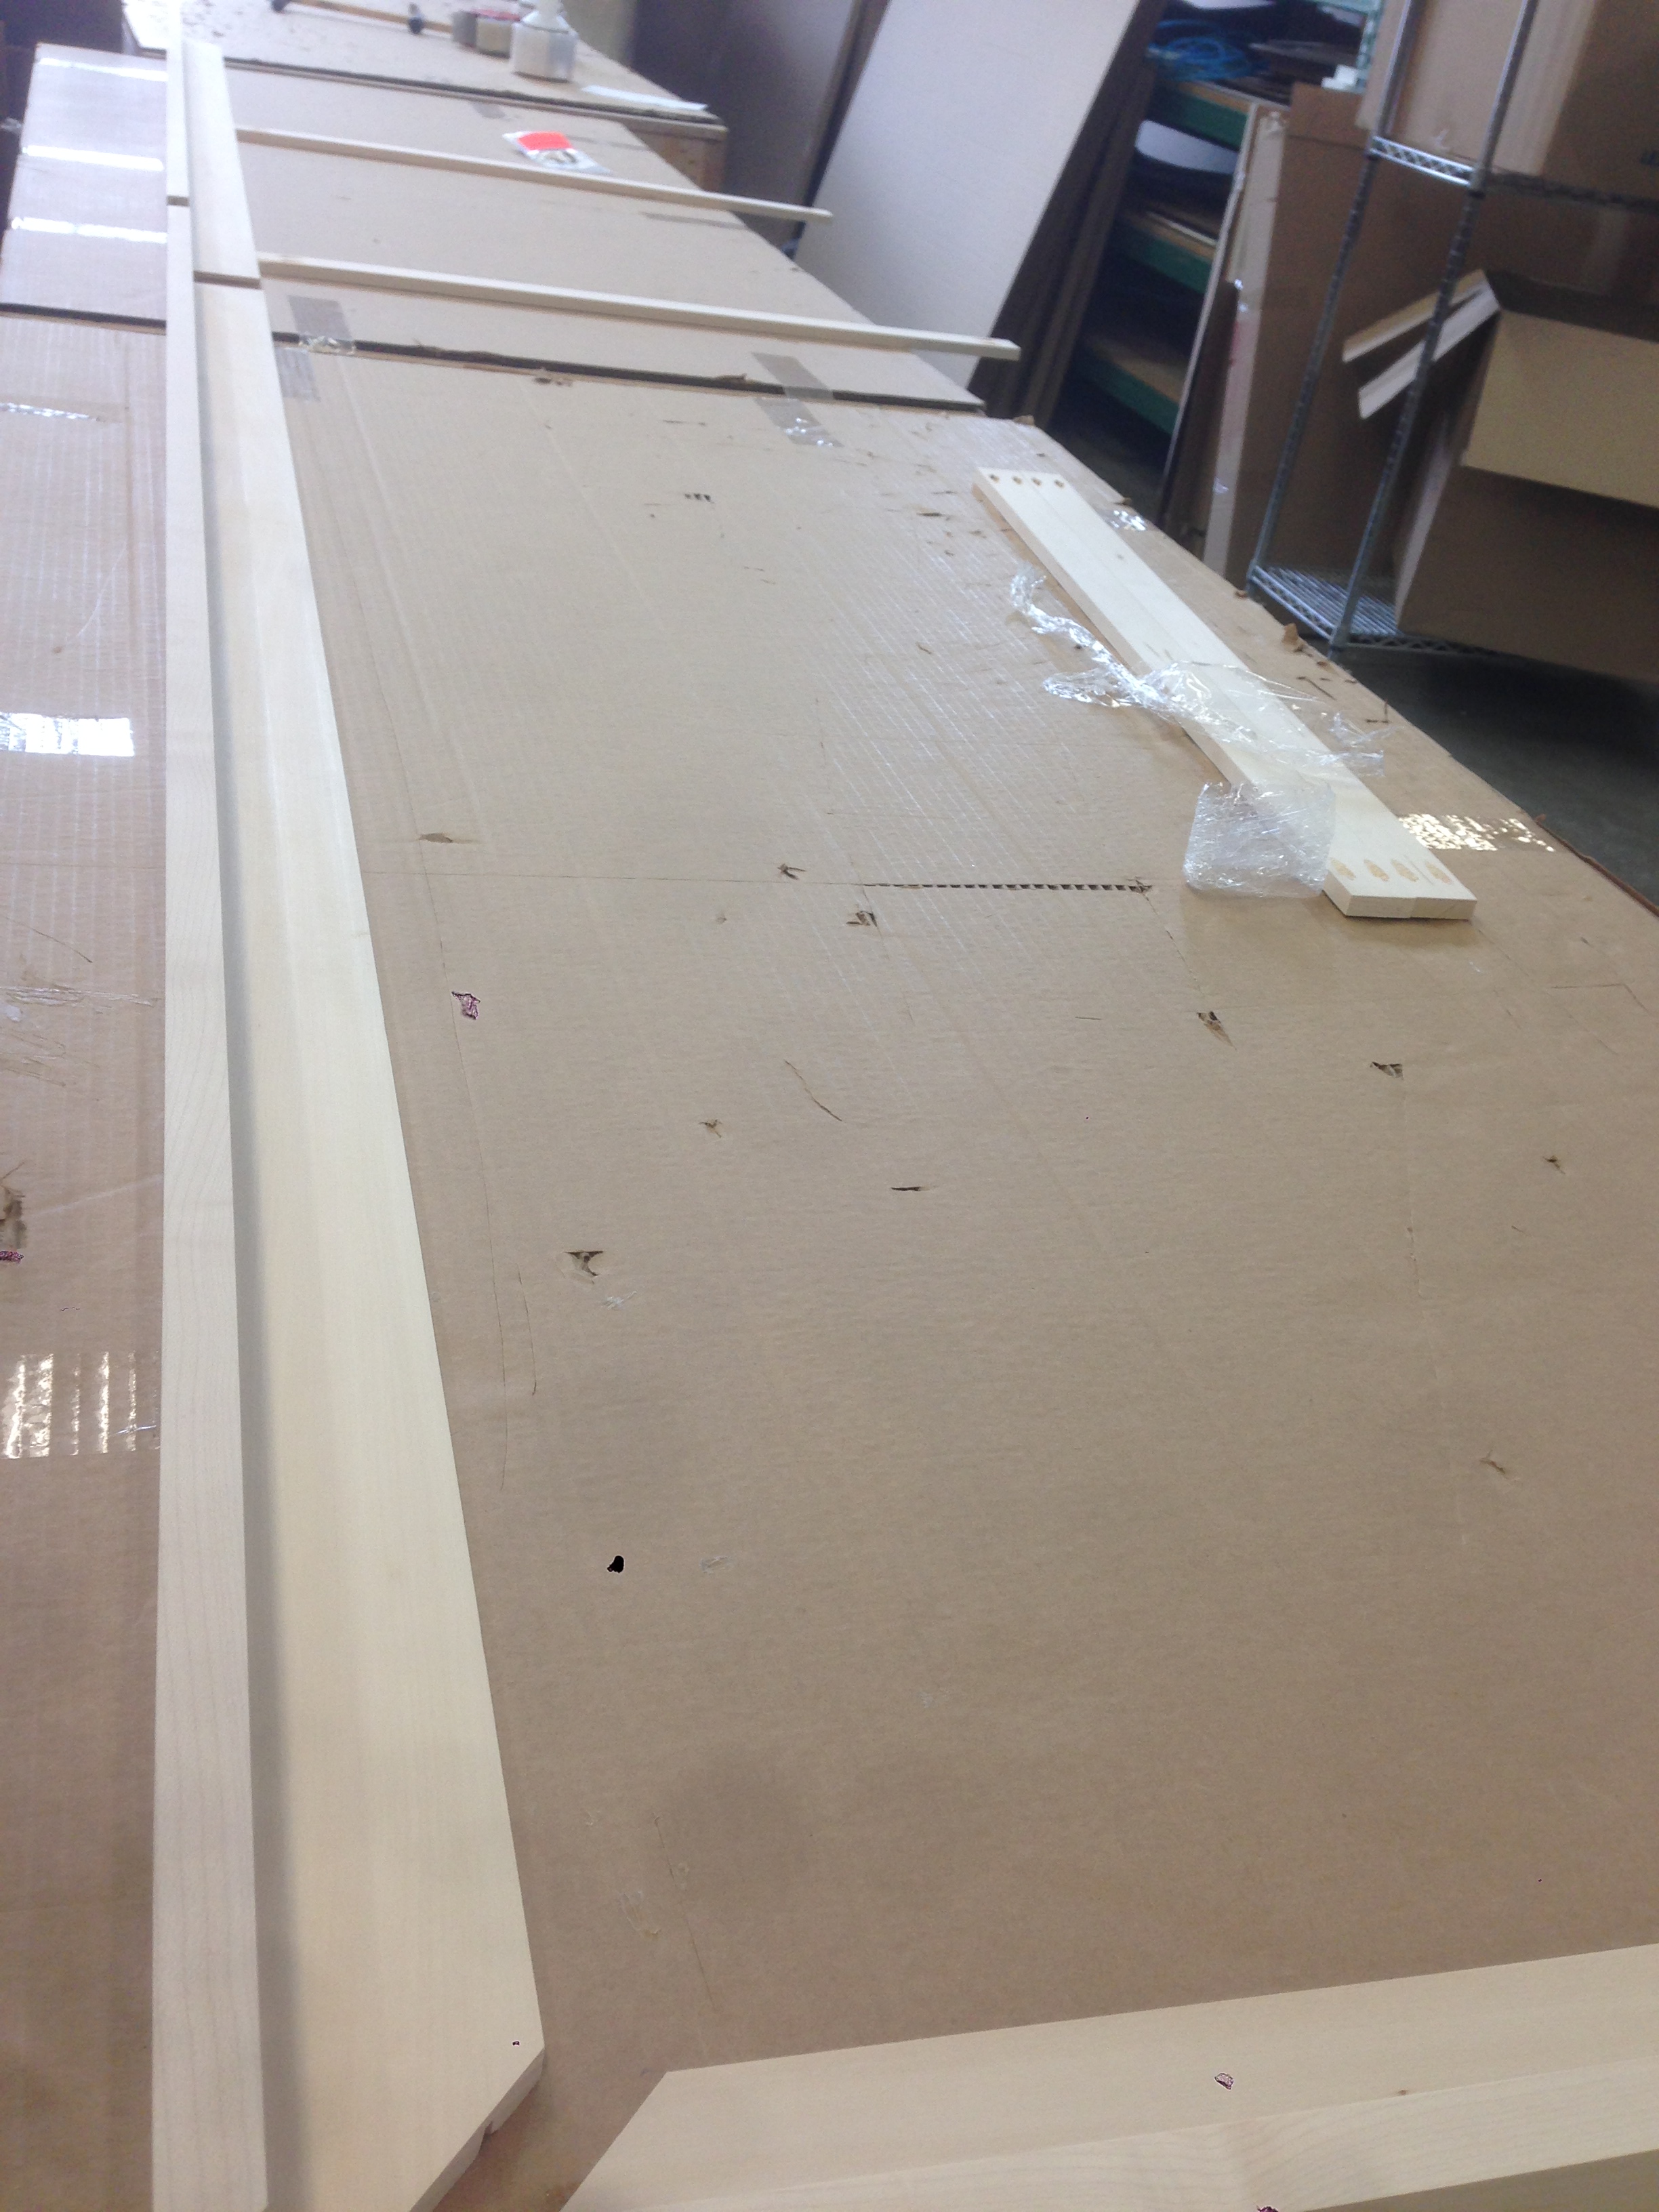
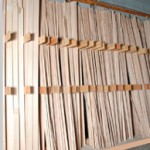
UNCUT LENGTH MOULDING
All of our frame profiles can be purchased uncut in lengths. They can be purchased unfinished or finished to order. Lengths vary from approximately 8 to 12 feet (most will be 10′). We will come as close to the footage on your order as possible. Note that UPS will not ship over 8 feet. When ordering you can specify cut 5′ and balance, 6′ and balance, 7′ and balance, etc. On larger orders we normally ship by truck and cutting the lengths is not necessary.
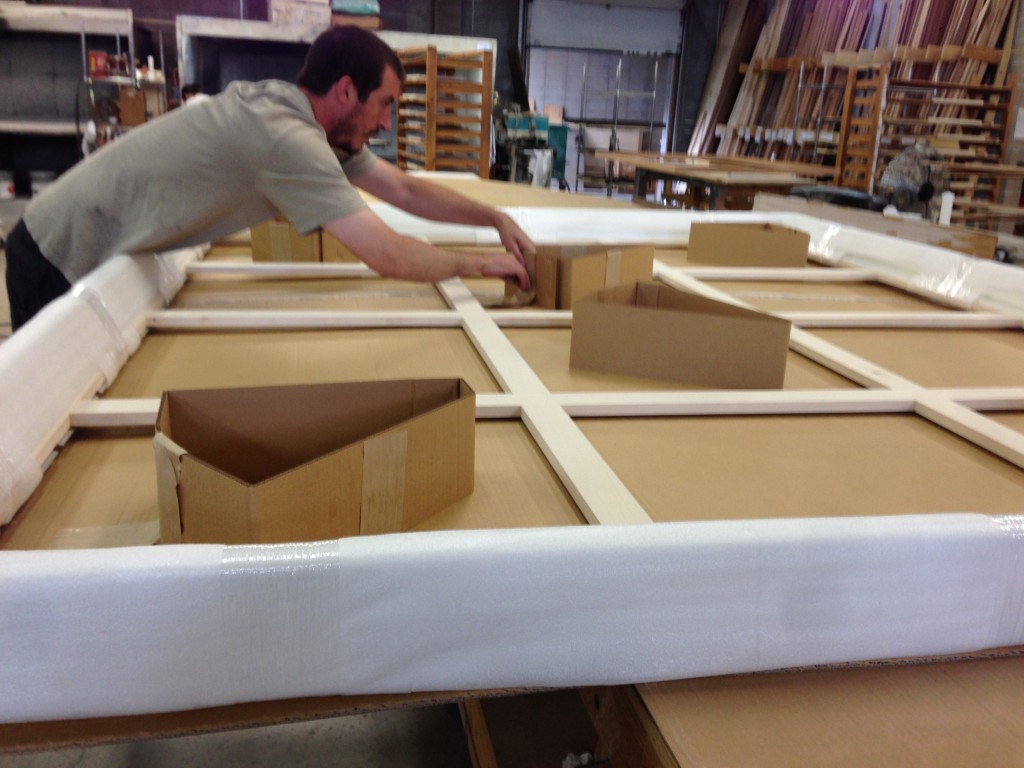
UNJOINED – CUT TO SIZE FRAMES
Frames are cut to your specifications with mitred corners. This option will require that you have a method for joining the frames. It is commonly used by picture framers and woodworkers who have their own joining equipment.

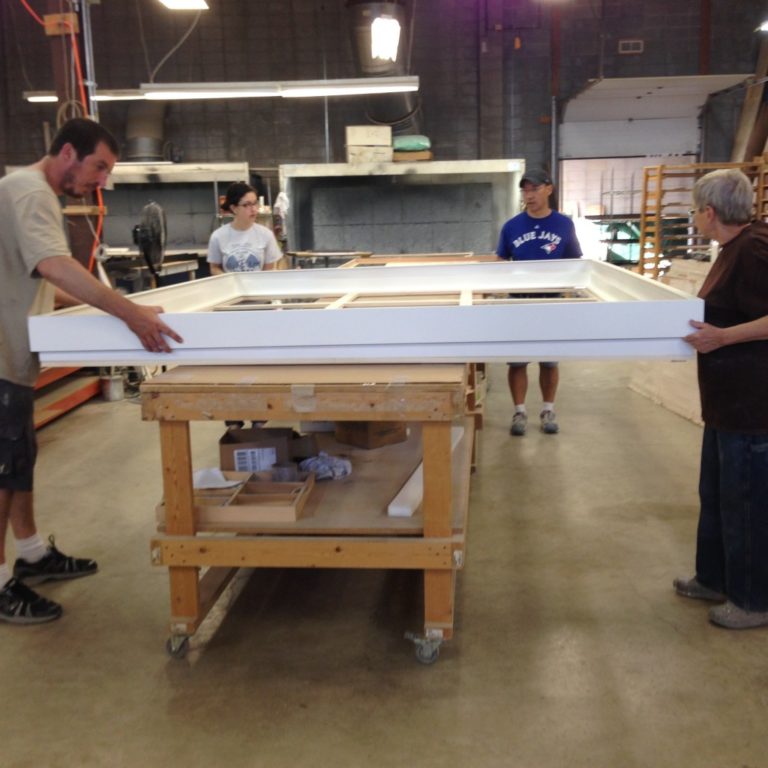
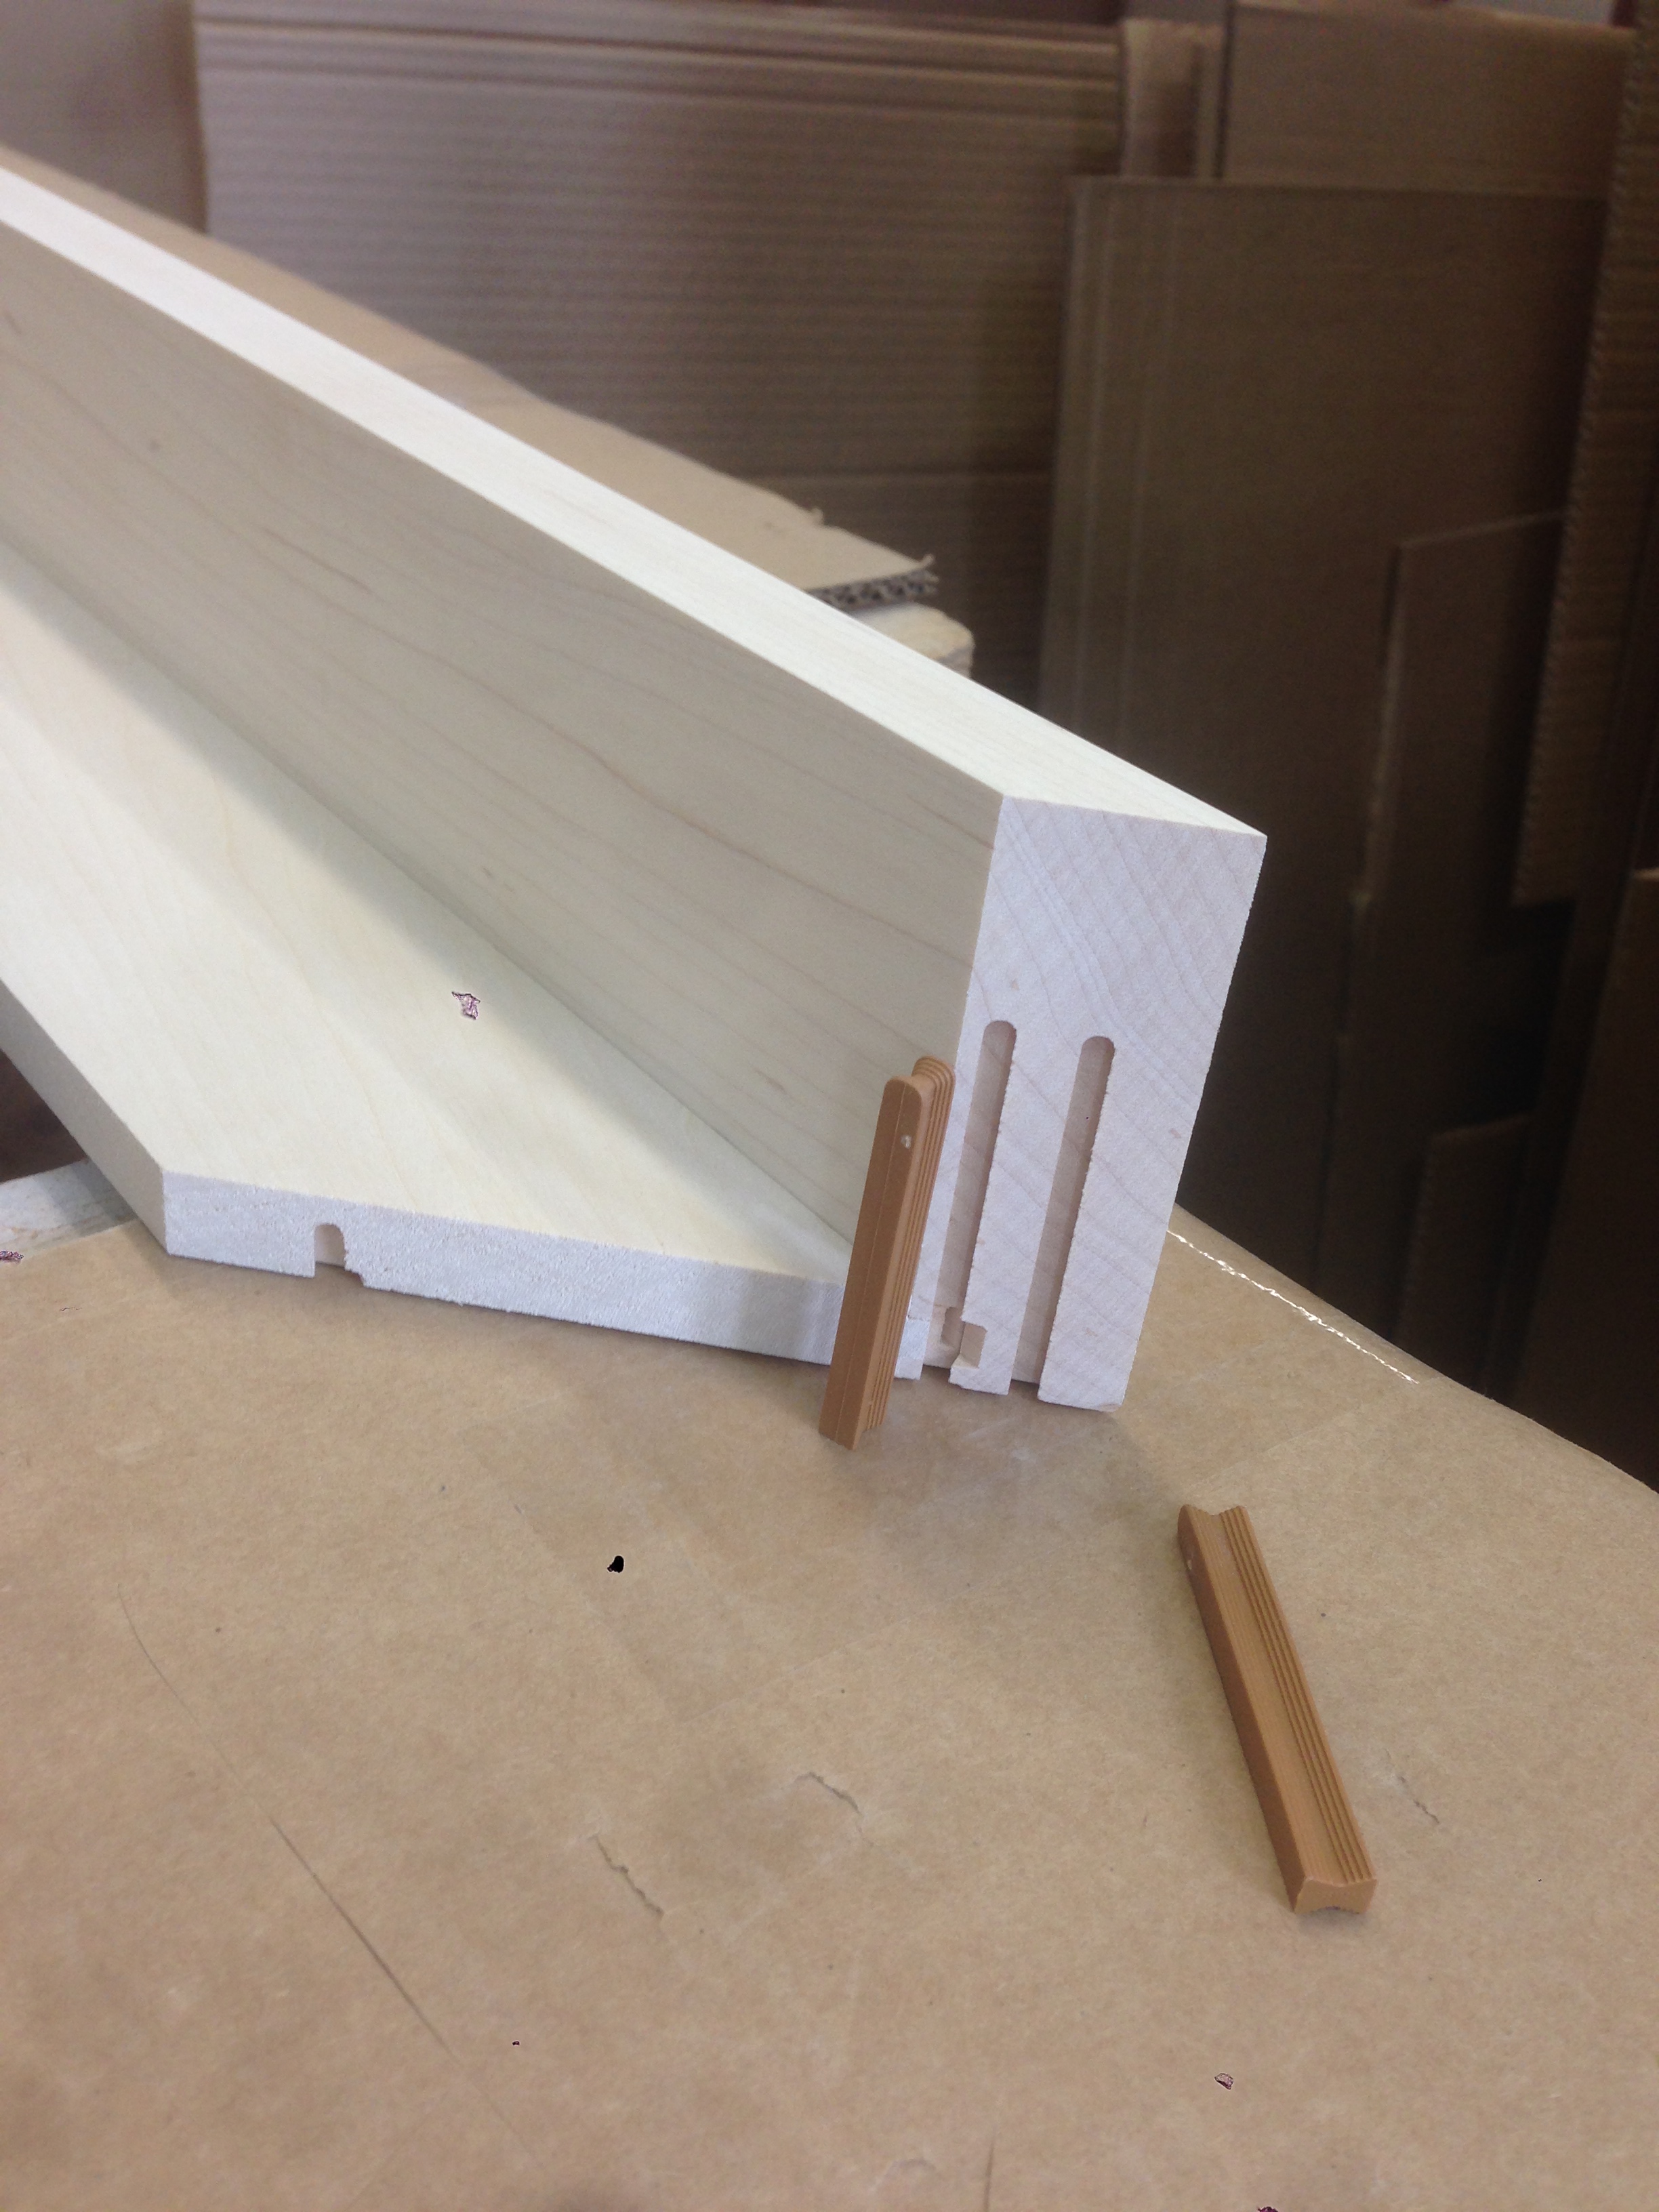
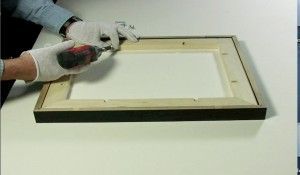
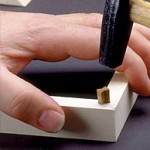
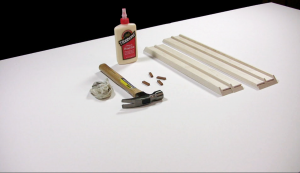
UNJOINED – CUT TO SIZE FRAMES WITH WEDGES
The wedge system makes the joining of wood frames as easy as joining metal frames. The frame comes to you unjoined, but the mitres have been routed out from behind with a special machine. You glue the corners and insert a plastic wedge and use a hammer to insert it into the prerouted slot. This system will allow you to adjust the corners until they are aligned. See framing advice. This option is often used by customers who are ordering large or oversize frames and want to save money on shipping. See framing advice.
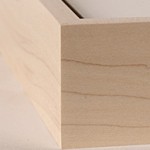
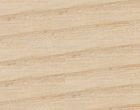
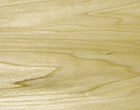
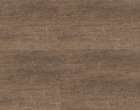
WOOD TYPES
ASH
Ash is a very dense wood with a grain pattern that can complement or detract from the artwork. If the grain complements, it is a good choice because it is a less expensive option. Ash will vary in color and is not recommended on the clear and white finishes if consistency is important. It is most popular in our darker wood stains and charcoal and black finishes which will cover the inconsistencies.
CHERRY
Cherry in its natural state has a light red color which makes the finishes have a depth of color that cannot be achieved on other woods. All woods will change color over time. Cherry gets darker giving it even a deeper concentration of color and grain. The wood is moderately heavy and hard. Cherry like walnut is more expensive than the other wood options we provide.

MAPLE
Maple is our most popular wood. It is valued by museums and fine art galleries for its neutral appearance. Metropolitan Picture Framing clear lacquer and stain finishes are semi-transparent, allowing the grain of the wood to show. Our painted finishes are opaque and have seamless corners.
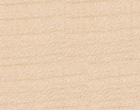
POPLAR
Poplar varies from light cream to yellowish brown, with occasional streaks of gray or green. Poplar is primarily used for painted or dark finished frames because of its color inconsistencies. Poplar typically has a straight, uniform grain, with a medium texture. Because Poplar is an inexpensive hardwood it is a good choice when price is a consideration. Colors tend to darken upon exposure to light.
WALNUT
Walnut has a rich dark brown heartwood with a tan colored sapwood. The wood is fairly soft and moderate in weight. It will lighten with age. Darker finishes are often used to cover the color differences in the heart and sapwood.
PRESENTATION STYLES
|
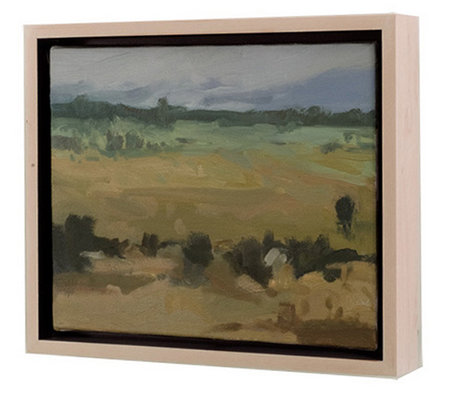
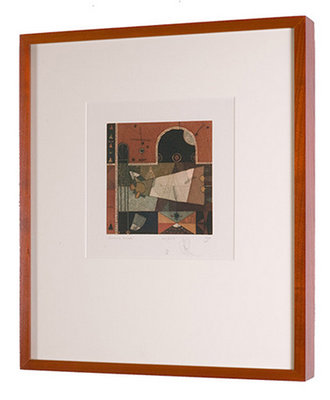
MATS
This presentation is used when you want to cover the edges of the photograph or work on paper and the mat is deep enough to provide a separation from the glazing. This is often done when the artwork has large borders around the image or has edges that are frayed or damaged.
|
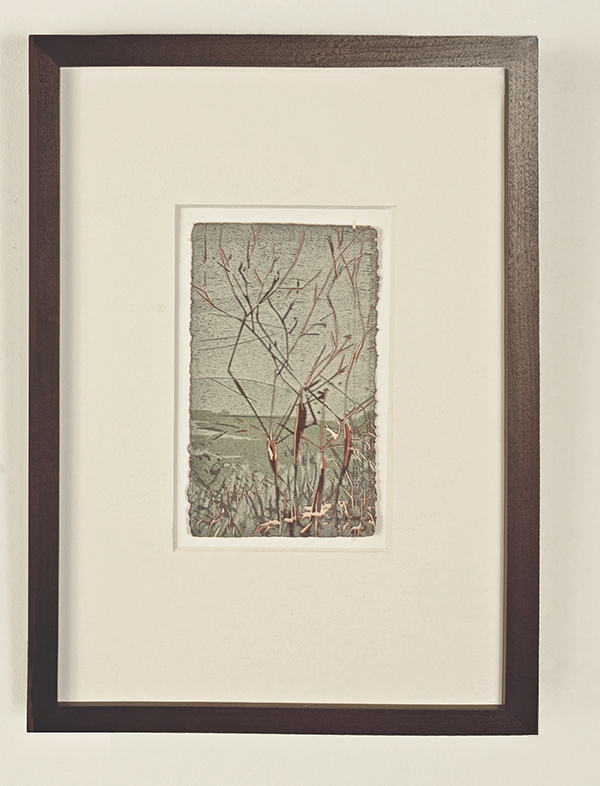
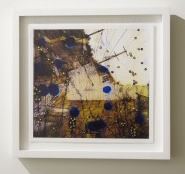
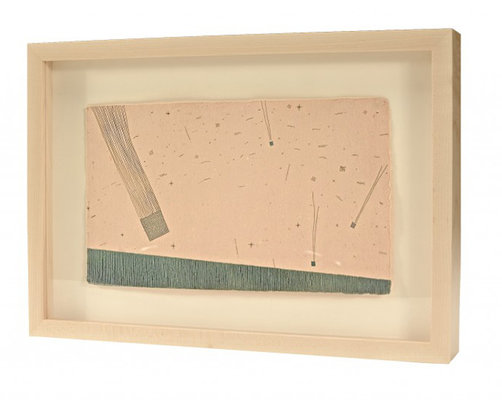
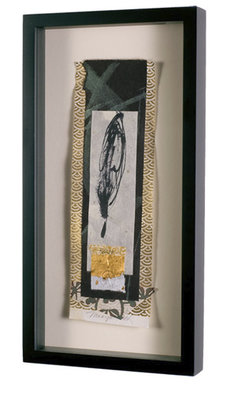
FLOAT
Float presentations are used when the artwork has a deckled or uneven edge or the entire image is critical and it is important that nothing is covered. It is also used on artwork that is dimensional or doesn’t lie flat which requires a spacer to separate it from the glazing. Spacers can be made of wood, plastic, or matboard. Metropolitan has designed a line of exhibition frames that will accommodate our custom wood spacers that can be purchased in depths ranging from 1/4″ – 2″.
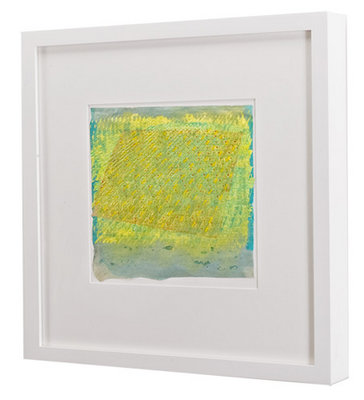
FLOAT AND MAT COMBINATION
Mat and float presentations are used when the artwork has a deckled or uneven edge or it is important that none of the image is covered and a mat is deep enough to provide the separation from the art and the glazing.